

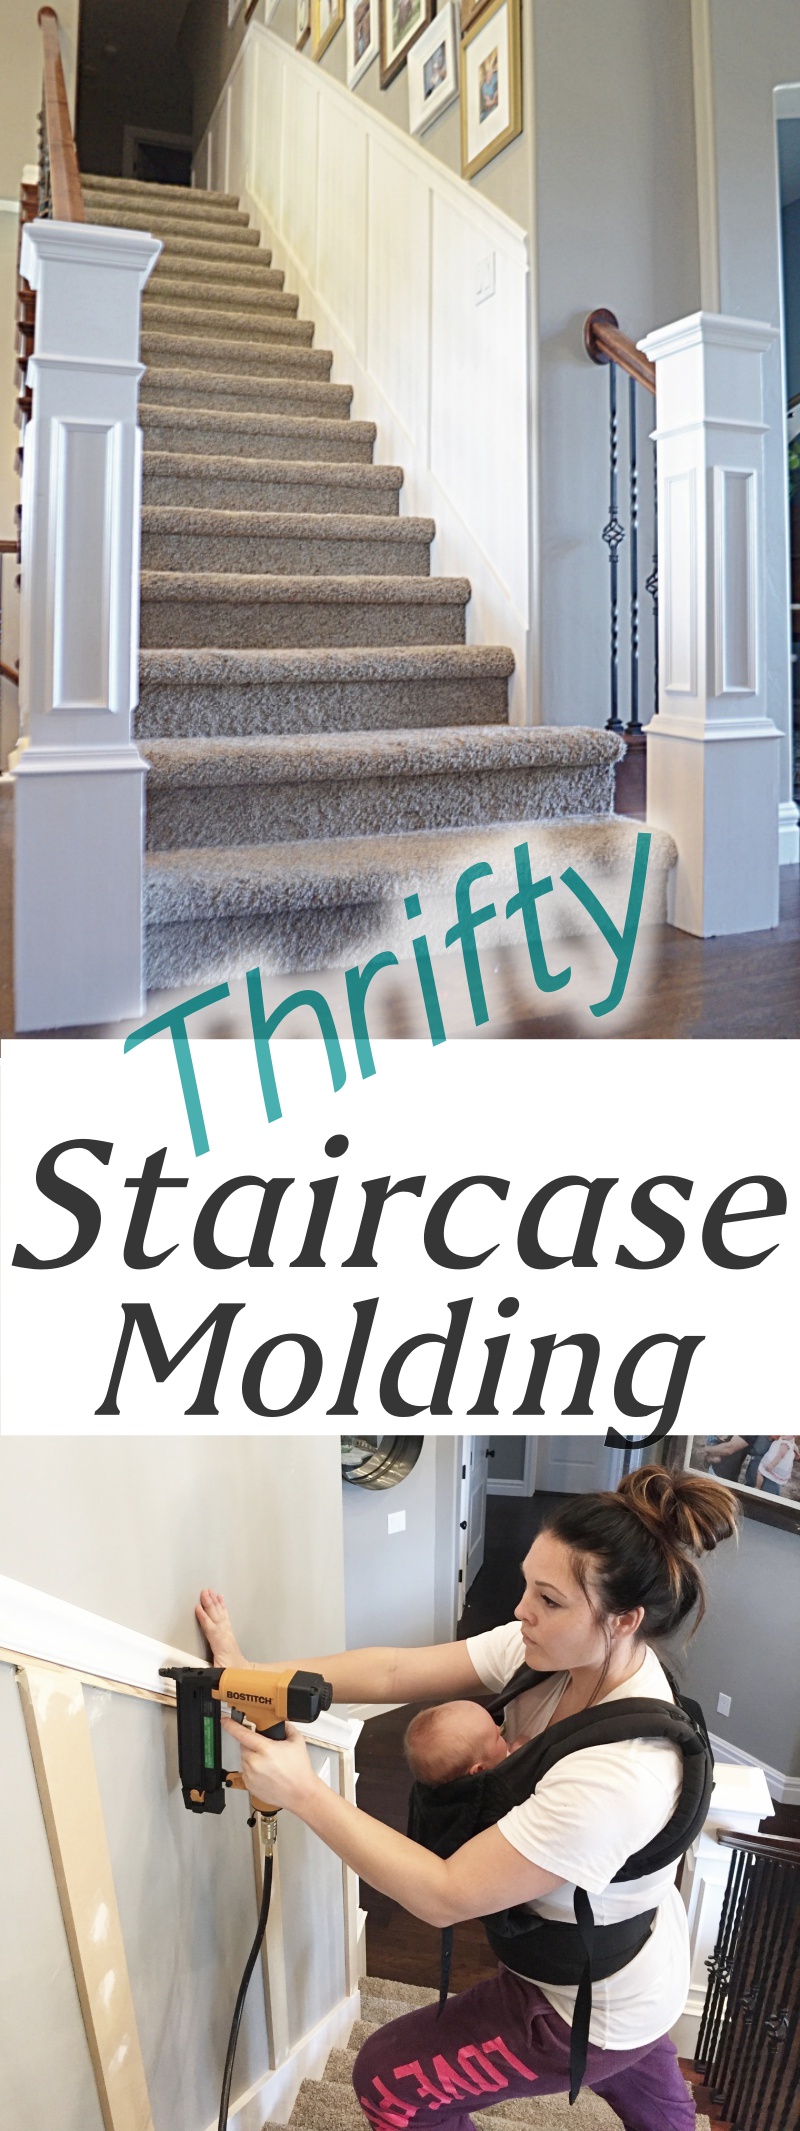
How To Install Stair Trim Molding
Well hello there! Im finally getting my project mojo back after having my 3rd child mid march – I've been a bit preoccupied and sleep deprived haha! Now that my little gal is approaching 5 months (wahoo) I finally have the energy and motivation to complete all these crazy ideas that have been floating around in my head! Or at least a few of them…slow down Mysha, take a deep breath! First things first, the stairway makeover: How to install molding.
I've wanted to add molding to my staircase since we moved in. My initial thought was to install thin molding squares, but after sitting on the idea all this time I came up with a less expensive solution – yay for saving money$$! Click here to see how I installed board and batten in my FRONT ROOM and above my FIREPLACE so doing something similar seemed more cohesive.
My motto is "if your gonna paint it, why buy solid wood"? So I set out to Lowes to get a sheet of MDF. I purchased an 8 x 4 ft sheet and had it cut into 3.5 inch wide planks (8ft long). That leaves plenty of extra material for future projects (aka my basement).
I also purchased 20ft of chair railing, and 20ft of thin molding for the horizontal railing going up the stairs. I chose to mix the fancier chair rail with the strait boards to blend the existing molding in my home.
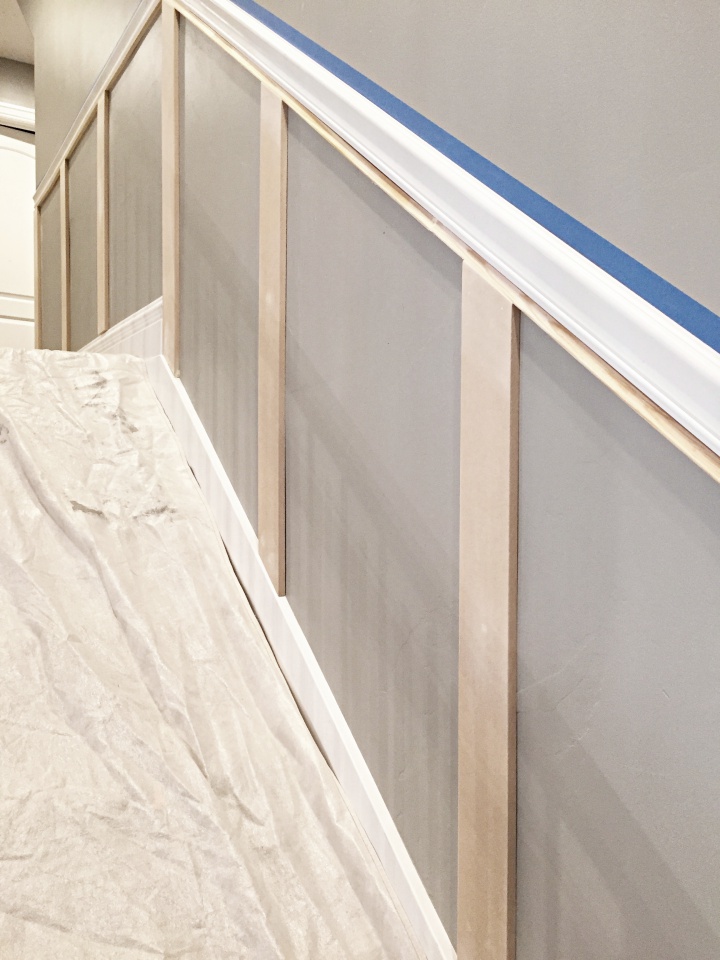
Before I break it down for ya, a couple notes- 1) For some reason I thought it was a good idea to install the boards before the railing (I blame the pregnancy brain…does that excuse still work)? Anyway I learned from my mistake and wrote you the easier path, trust me! 2) Ignore the blue tape in the photos and pretend it's chair railing already installed. It obviously still worked out, but would have been WAY easier this way! So here we go, the staircase makeover: How to install molding.

Shop The Supplies
Installing Chair Railing:
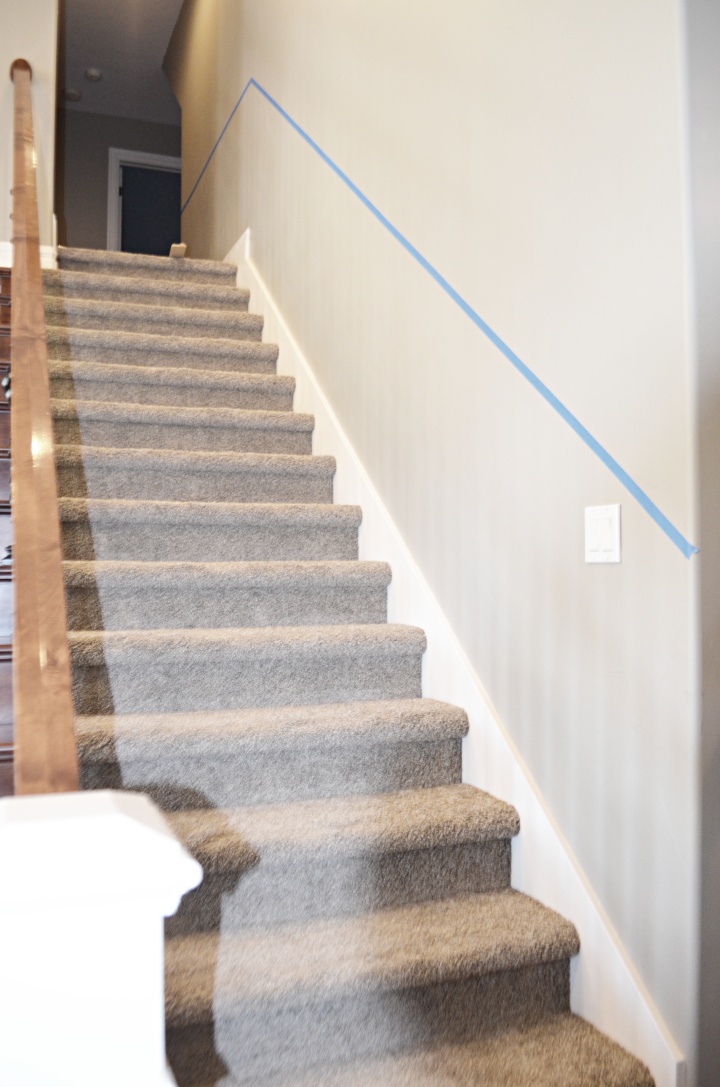
Step 1: Measure
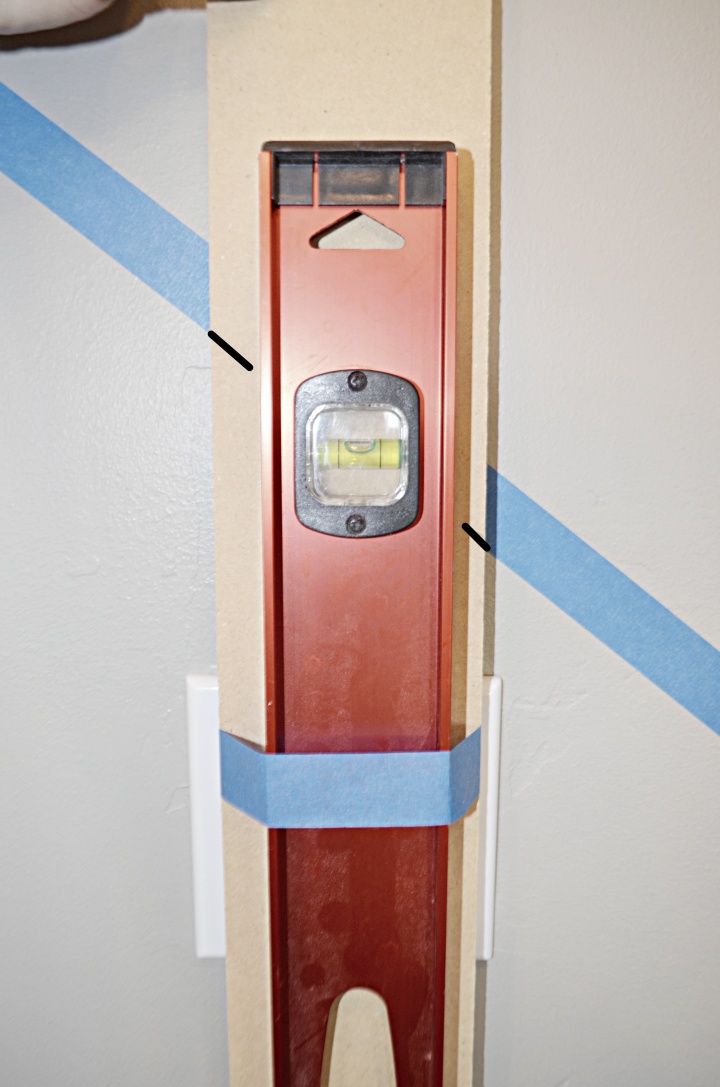
Measure up vertically from the end of each stair tread. The tread is the board or step where you place your feet. Measure up from each tread and make a mark on the wall anywhere from 30″-36″ depending on where you want your chair rail to hang. I installed mine right at 35″. Using a strait edge connect the marks with a pencil so that you have one continuous line going up the stairs. This just makes it super easy to place the chair rail at the designated height.(See blue tape… I'm telling ya, do as I say, not as I do lol!)

Step 2: Joining
If you need to install another piece (like me), measure the distance to the end of the staircase and use a miter saw to cut another piece. I had two joints in mine. One I just butted the 2 ends up with 90 degree cuts, clean and simple.
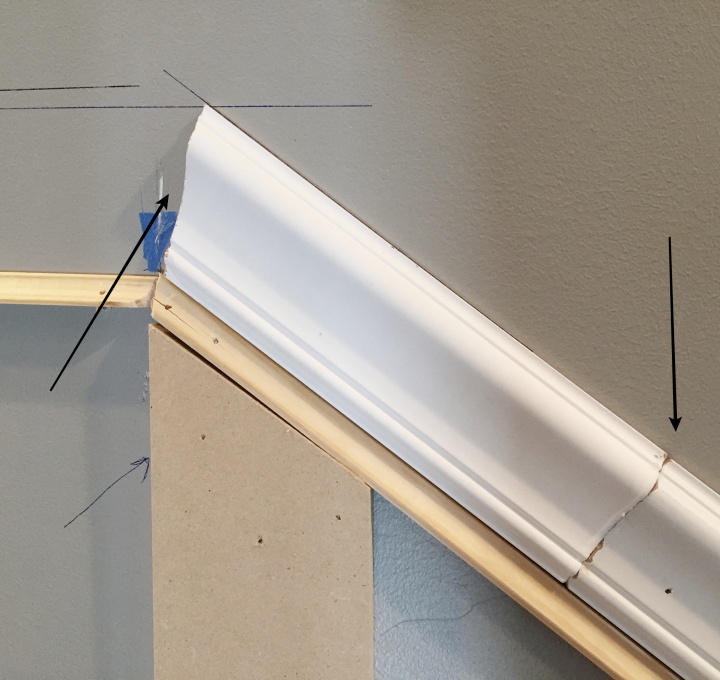
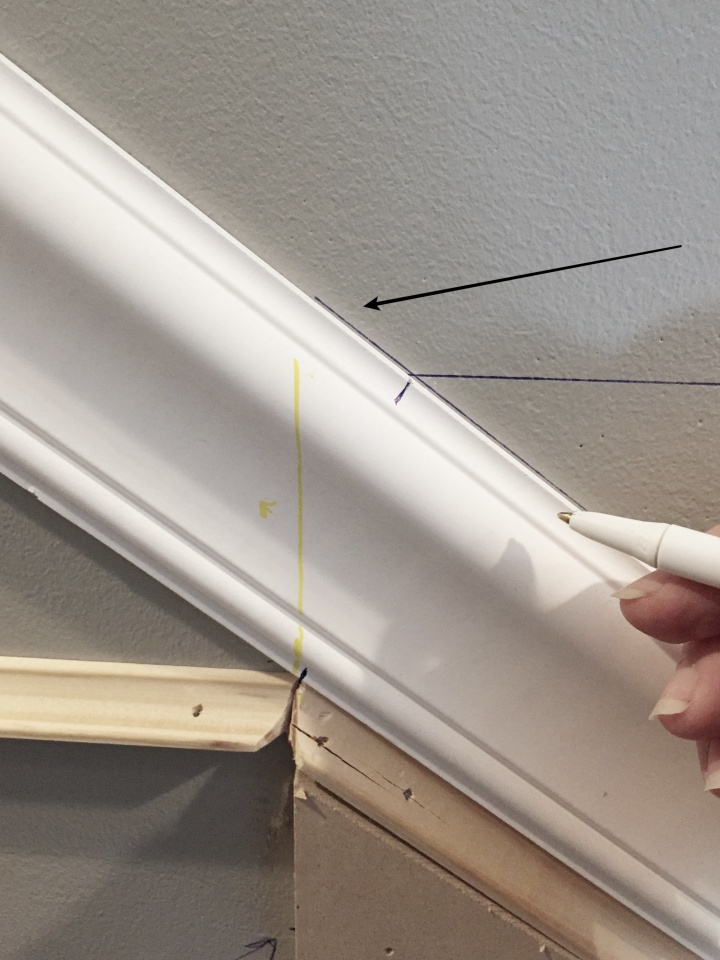
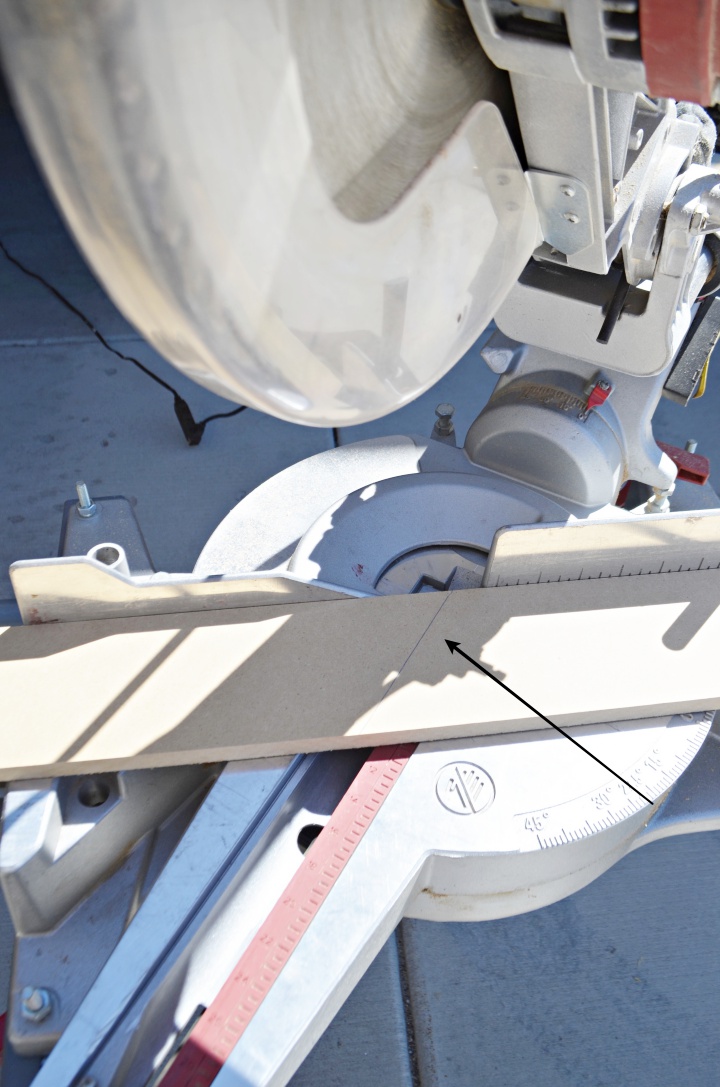
The other joint transitioned from the staircase into the upstairs hallway. This cut was a bit trickier. I aligned a piece of molding at my 35″ mark and extended it past the joint and traced a line across the top.
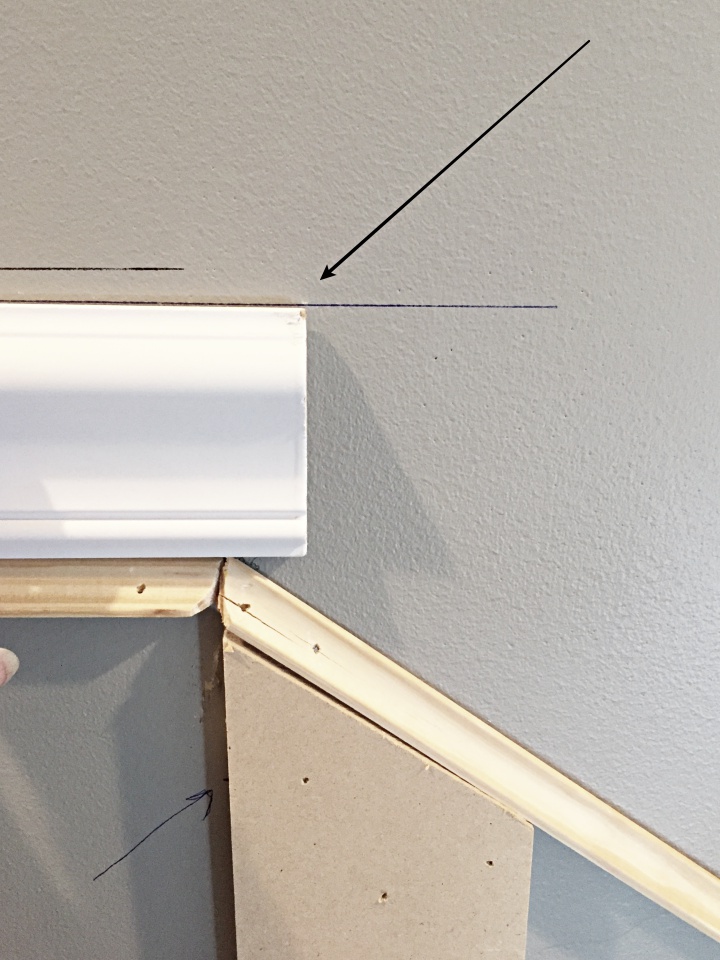
Then I took the another piece of molding and aligned it to the 35″ mark going up the stairs and extended it past the joint to trace a line across the top. This gave me the exact angle I needed to join the 2 pieces of molding. I marked the bottom and top of the molding on both pieces right at the corner points where the lines joined. Line up the 2 marks with your saw and cut both pieces. It ended up being a 40 degree cut.
3: Glue & Placement
Run a bead of construction adhesive along the back of the molding. Place the molding on the wall, aligning the top of the molding with the 35″ marked line. My molding measured 2.5″ wide so the bottom of my molding was right at 32.5″ high, exactly where I wanted it.(Again ignore the mdf boards… we'll get there I promise)
Step 4: Nail It
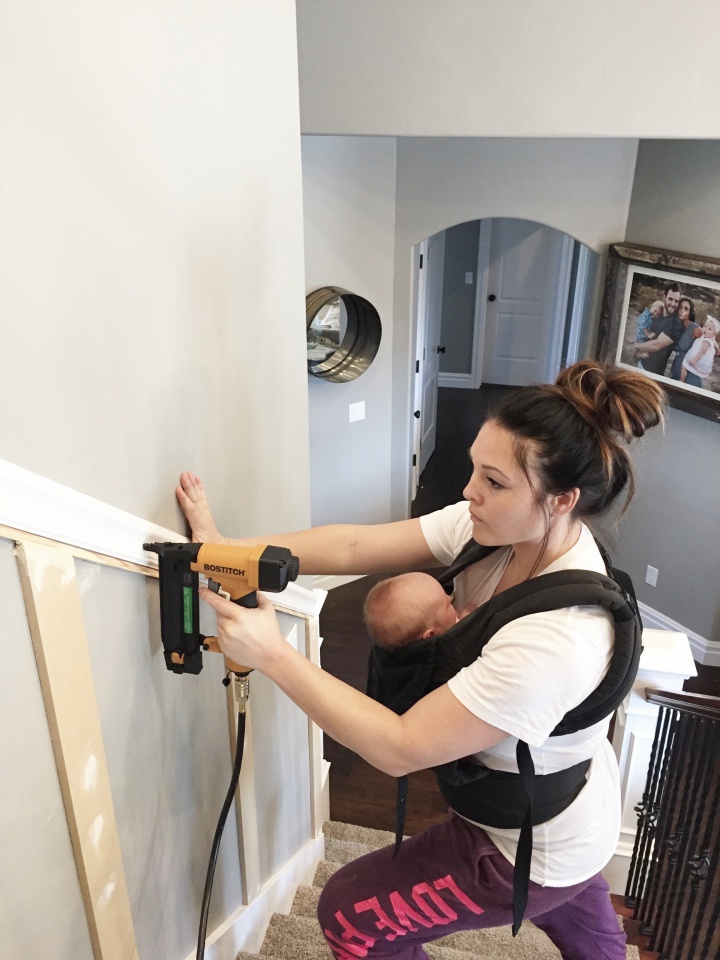
The construction adhesive will help hold the molding in place as you nail it up. I found that the railing was easier to handle and install if I started at the top of the staircase and worked my way down. Even still, If you can grab a helper to hold in place, thats even better! My hubs helped me here! Its best if you can shoot the nails only where the studs are in the wall. Otherwise, the nails won't hold it tightly to the wall.
DISCLAIMER: I was not actually shooting nails here but I forgot to photograph this step, so I popped up there for a photo…Just so you know I'm not reckless! I would NEVER put my baby in harms way! That being said, this photo is an accurate depiction of my everyday life and DIY projects. She was attached to me during several steps of this staircase transformation, just not while using a power tool!
Now that my chair rail was in place, I secured a thin piece of molding right below it. I used the piece to transition the chair railing to the mdf boards. The mdf was thicker than the railing so this worked perfectly. Once its painted you'll never notice the extra piece of molding. Another option would be to just use mdf boards for the whole project, chair railing and all!
Shop The Supplies
Installing Board and Batten:
Step 1: Measure & Cut
To figure out the angle of the cuts I needed, I held a piece of mdf up to the wall and marked the angle of the chair rail. (again imagine the blue tape is the chair rail)
I connected the marks into a line to get the exact angle I needed.
Then I lined it up on my miter saw to figure out the degree. It ended up being a 40 degree cut just like the chair railing! I simply cut the first board along the marks. I fitted it against the wall just to double check and it was perfect. I traced the cut board onto the 5 other boards to be placed going up the stairs and cut them along the same marks. So easy right!
The remaining 3 boards to be place in the upstairs hallway were even easier. I just placed one mdf board against the wall and marked where the chair rail hit the board. This was a simple 90 degree cut that I repeated on all 3 boards. This was SO much EASIER than installing the chair railing!
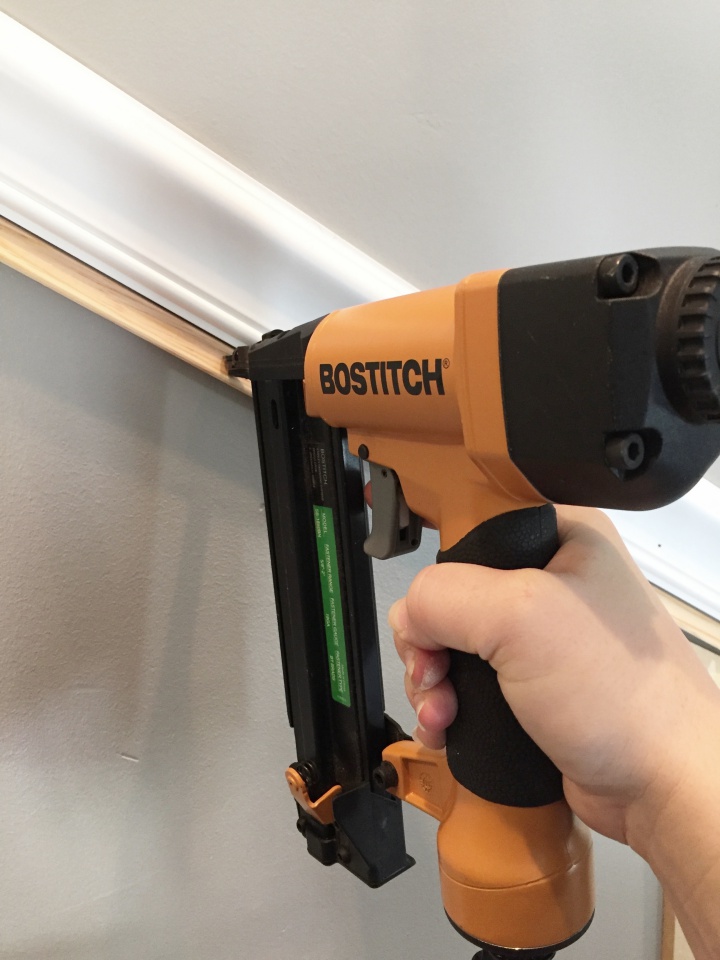
Step 2: Glue & Nail
Run a bead of construction adhesive up the back of each precut mdf board and secure in the designated mark. Follow up with the nail gun trying to hit as many studs as possible.
(sorry peeps I forgot to photograph this step but you get the gist)
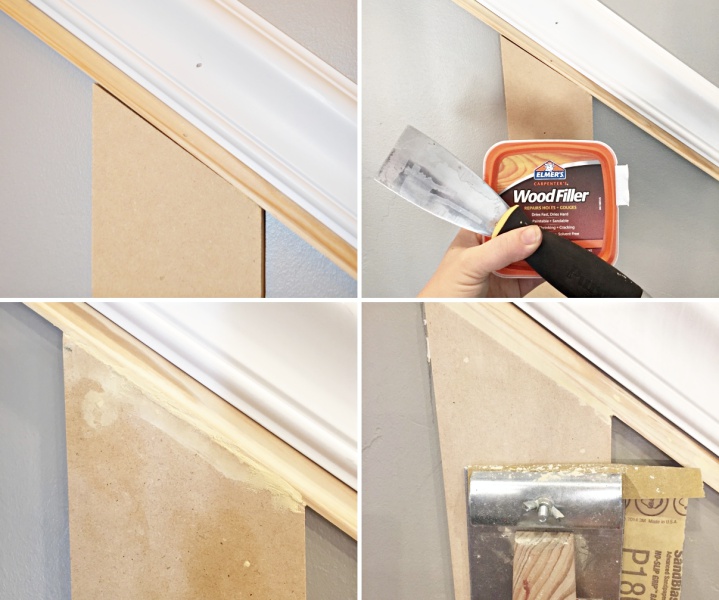
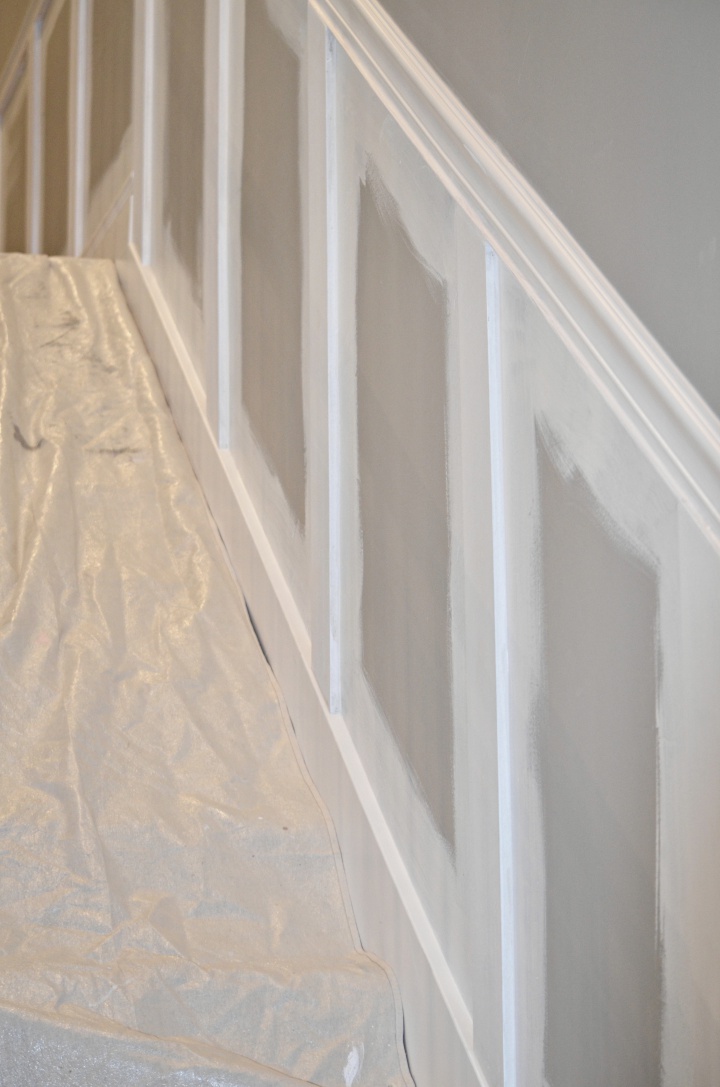
Step 3: Patch
Use putty to fill in the nail holes in chair railing and mdf boards. I also used it to fill in small gaps between molding joints. Let it dry and sand down to smooth. I found it was much easier to use a damp cloth on the chair railing since it wasn't flat. Once you have all the patches sanded smooth wipe down all the molding and wall to get rid of the sanding dust.
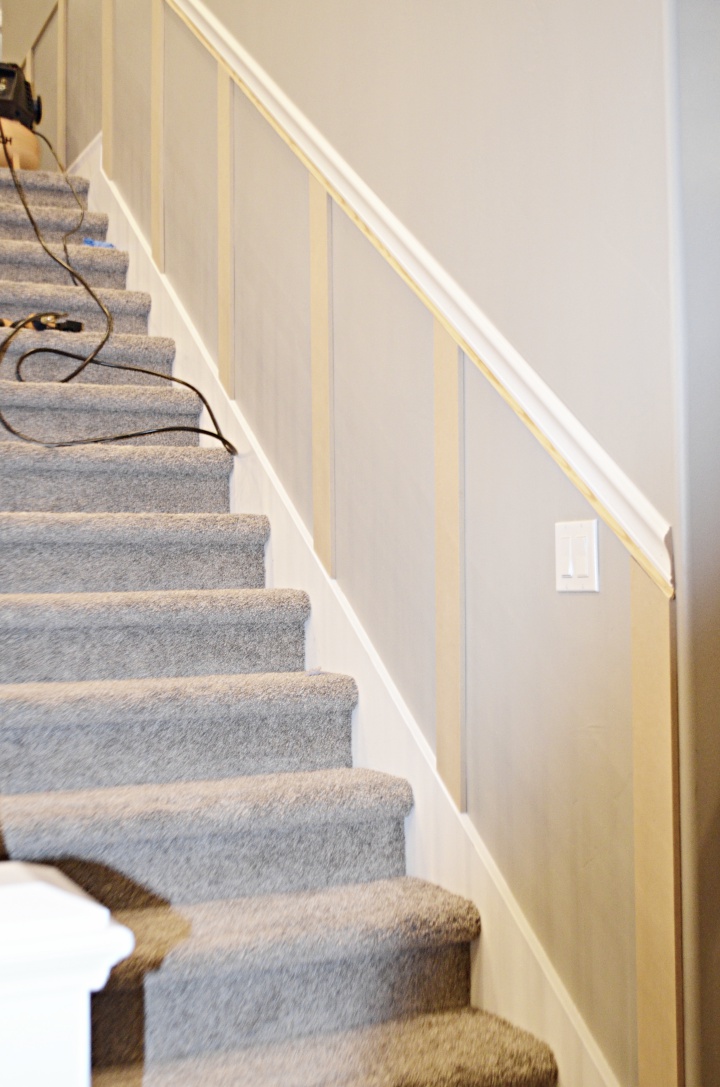
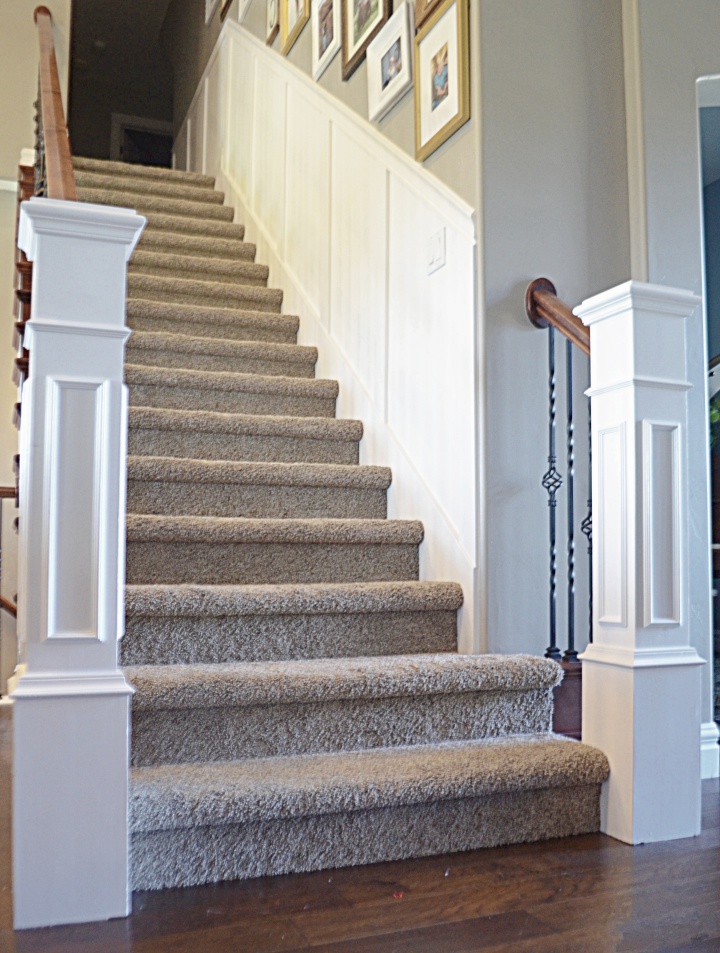
This is what I ended up with!
Love:)
Step 4: Prime
Yes you could paint all your boards before installation, but I actually prefer to paint once its all hung. It helps me to see all the gaps that will need caulk AND the wall needs to be painted the same color anyway!
I love purdy brushes! Thats all we have at our house. They aren't cheap but they are the best! And as long as you properly clean them, they last forever. I used my angled brush to do a coat of primer on all the mdf boards, chair railing, and along all the edges.
Step 5: caulk & patch
After applying the primer, it will be very visible where you need to apply or sand more patches and caulk. I defiantly had a few patches that needed more attention haha.

Caulk is a painters best friend! It hides all the little gaps and makes everything all better! Its actually my favorite step.
Step 6: Paint
I used my purdy angled brush again to cover all the molding and mdf boards. I painted along all the sides and corners too. Then I took my roller and rolled the remaining areas on the wall. I used whisper white by Qual (sherwin williams now). Its a white enamel paint, the same that covers all my baseboards and molding throughout my home. You could use a semi gloss as well, but you'll want a paint that is easy to wipe down.
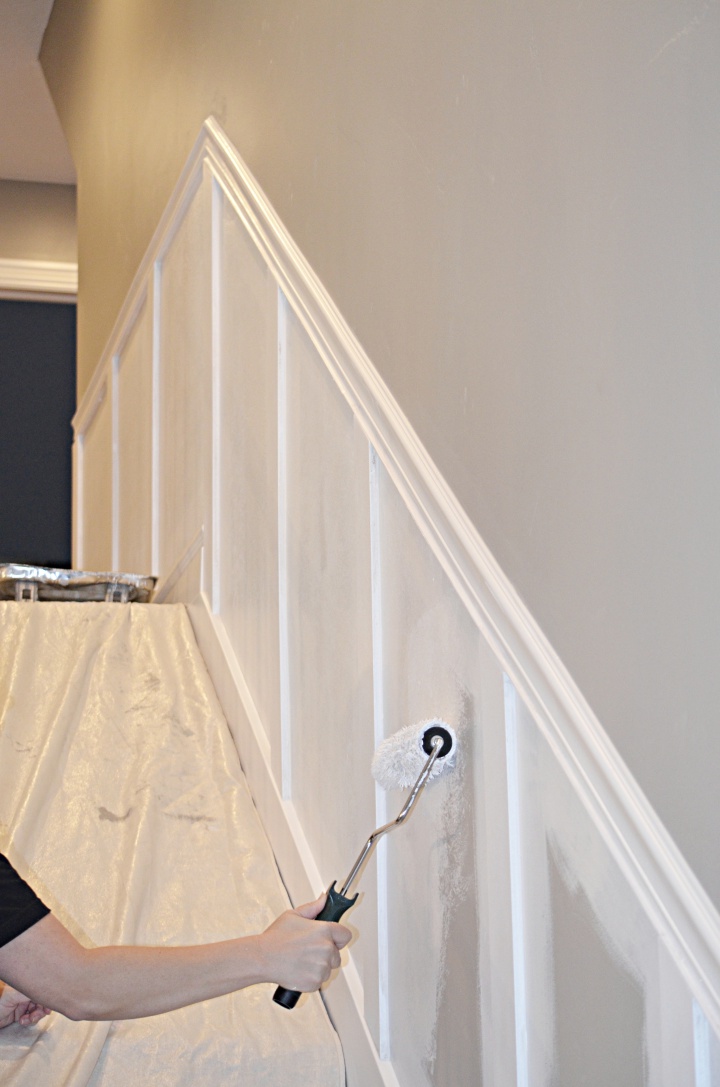
Repeat this step until you reach maximum coverage. It took 3 coats for me!
I absolutely positively love how it turned out! I can't seem to get any good photos of my stairs, I guess cause the lighting isn't great here. Or maybe it was because I was burning the midnight oil, anyway, you get the picture!
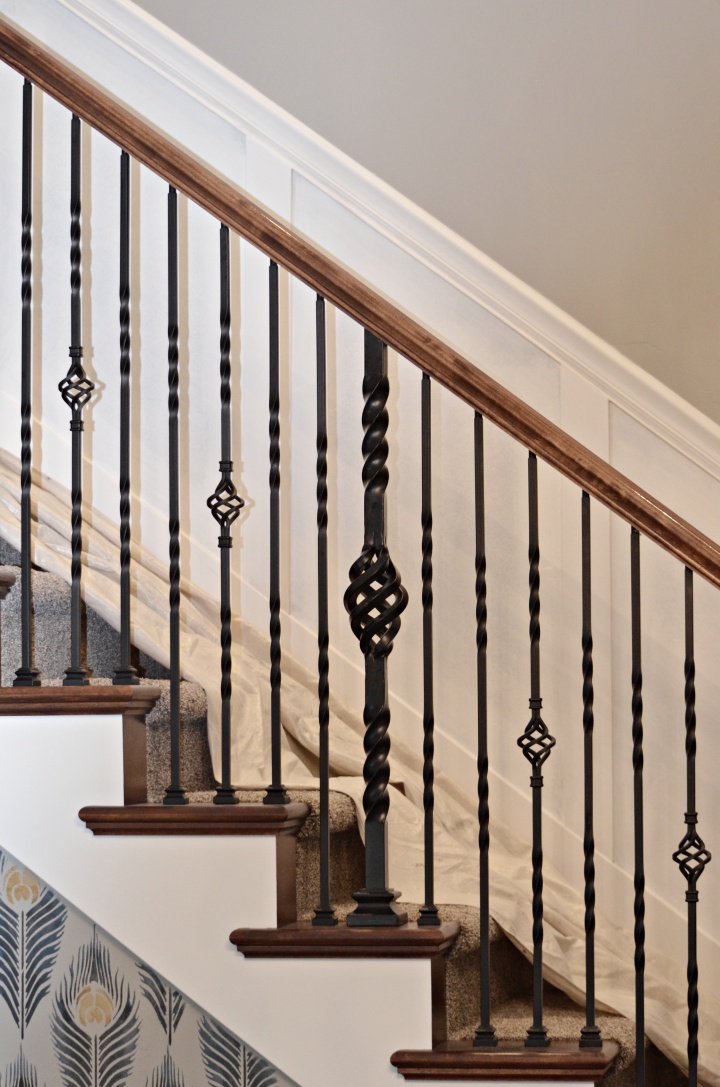
SO much more INTEREST than before!
Its NOT perfect, but not many of my projects are. I would even dare to say the pro's aint perfect either! (in fact I know) This is why caulk and putty exist haha!
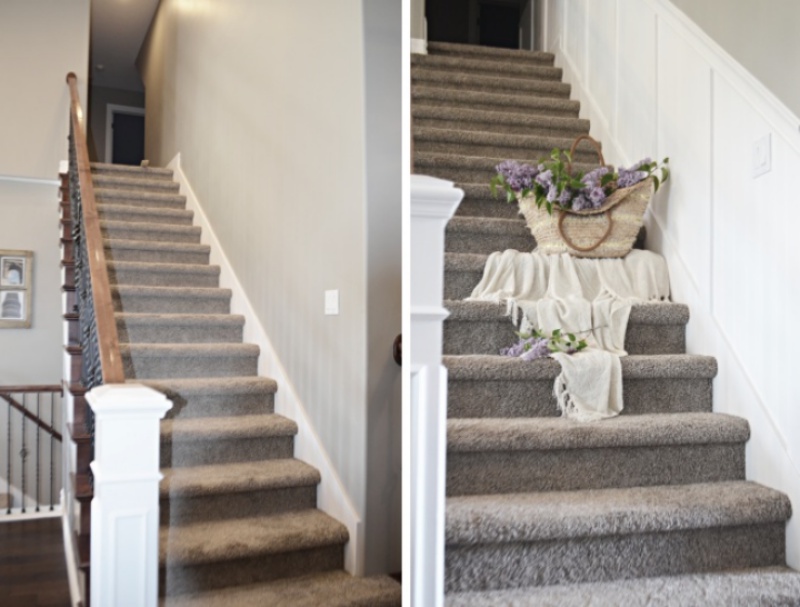
Molding really adds so much visual interest. Its one of my favorite ways to dress up a space. For $50 bucks in material (with plenty leftover for another project) I'd say thats a lot of Bang for your Buck! And if you just use the MDF, more like $30! Pretty Thrifty! I hope you enjoyed my staircase makeover: How to install molding. Click here to see part 2 for my Staircase Makeover: Creating a staircase gallery! Here's a sneak peak! To Keep up with all my crazy money saving DIY's make sure to subscribe to my blog. Until next time!
Shop The Supplies
*Affiliate links used throughout

 Add to favorites or read later
How To Install Stair Trim Molding
Source: https://remingtonavenue.com/staircase-makeover-how-to-install-molding.html
Posted by: rowlandimation.blogspot.com
0 Response to "How To Install Stair Trim Molding"
Post a Comment